| Sign Up For Our Newsletter |
| Sign Up For Our Newsletter |

Using an Excel worksheet - Basic terminology
Step 1 - Launch Excel - Automatically a workbook opens. An Excel workbook is made of several sheets. Unless you have changed the default setting you will have three sheets.

Step 2 - Changing the name of the worksheets - Each sheet is a full spreadsheet. Having a workbook with multiple sheets allows you to easily establish relationships from one sheet to another.
The name of the sheet may be changed. Double-click the name of the sheet in the tab at the bottom, and type the new name.

Step 3 - Inserting additional worksheets - If you need additional worksheets, go to the Insert menu and select Worksheet . It will be placed before the selected sheet.
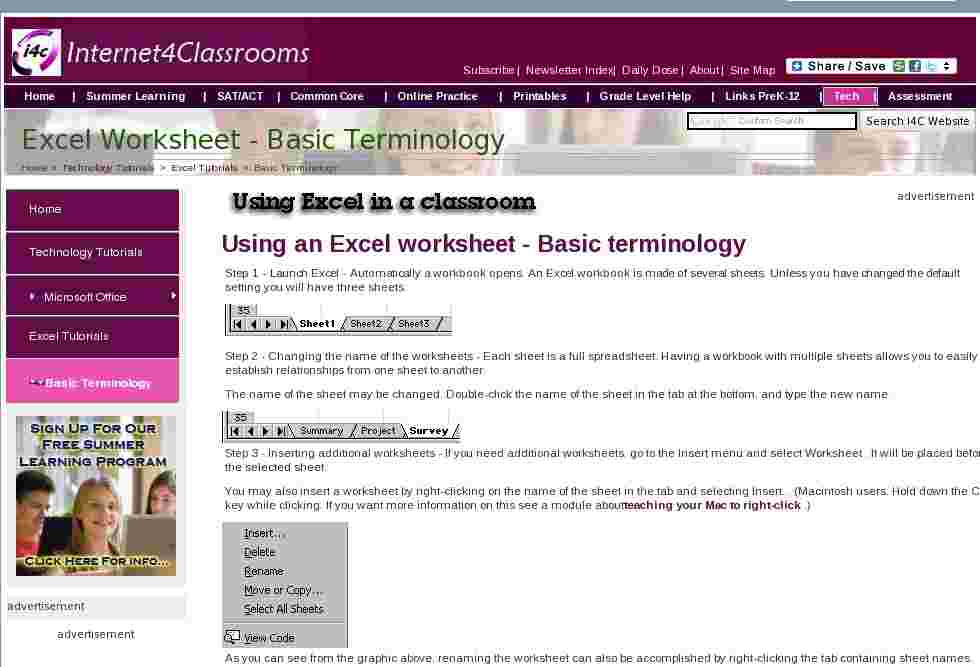
You may also insert a worksheet by right-clicking on the name of the sheet in the tab and selecting Insert... (Macintosh users, Hold down the Ctrl key while clicking. If you want more information on this see a module about teaching your Mac to right-click .)
As you can see from the graphic above, renaming the worksheet can also be accomplished by right-clicking the tab containing sheet names.
Step 4 - Cells - Rectangles in a spreadsheet are called a cell. Cells are designated by the column and row in which it is located. By default, the top left cell, A1, is highlighted.
Try the following ways to move from cell to cell:
- Hit the Return/Enter key to move down to the row below
- Hold down the Shift key, then hit the Return/Enter key to move up to the row above
- Hit the Tab key to move over to the column to the right
- Hold down the Shift key, hit the Tab key to move back to the column to the left
- Move the cursor to any cell and click there
- Use the arrow keys to move up, down, left, or right.
Step 5 - Recognizing cursor styles - There are four common cursor styles used in Excel.

Click and drag to highlight multiple cells with this cursor, or click in a cell to select the single cell

Click and drag with this cursor to fill cell contents into cells below or to the right.

Click and drag the contents of the selected cell to any other cell.
Click to place the cursor into the Formula bar so that you can edit an equation or function.
Step 6 - Entering data - Move to the cell where you want to enter data and enter words or numbers. If data is already in the cell it will be replaced without having to cut or delete the previous data.

Internet4classrooms is a collaborative effort by
Susan Brooks and Bill Byles.

advertisement
advertisement
Use of this Web site constitutes acceptance of our Terms of Service and Privacy Policy.
