Page Options in Microsoft Word
Borders
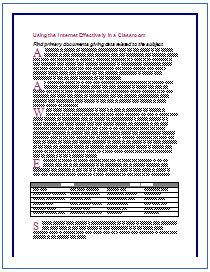
Borders often present a problem that is easily solved, but is frustrating until you know about one small adjustment. The problem is that when you print your masterpiece, the page you have worked on so carefully, the bottom of the border does not print. Below is the bottom of a page I was working on.

The border looks fine, it is exactly as I wanted it to look. However, when I go to Print Preview, I can see that the bottom border will be missing if I print.

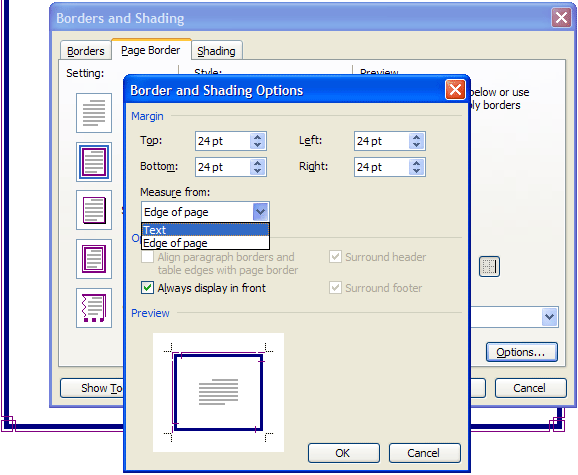
To solve that, I am going to make one change from the default setting. Go to the Format menu and select Borders and Shading . In the Borders and Shading window, select Page Border . At the bottom right portion of this window there is a button labeled Options. Click on the Options button. In the Borders and Shading Options window you should see a Measure from box which, by default, is set to Edge of page . Click on the down pointing arrow and select Text . Click on OK to get back to the Borders and Shading window where you will click OK again.

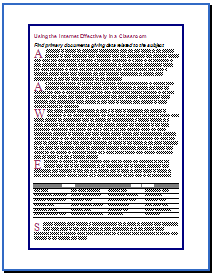
When the Borders and Shading window closes you will see the border has tightened up on the text. So far, so good. Now for the real test.

Cross your fingers for good luck and go to Print Preview . There is the border you worked so hard to see, ready for printing.

Go back to Using Microsoft Word to Produce Classroom Documents

Use of this Web site constitutes acceptance of our Terms of Service and Privacy Policy.